| Zeile 11: | Zeile 11: | ||
==Lecture 16: Softpult == | ==Lecture 16: Softpult == | ||
The Softpult (Softdesk) tool can be enabled via the plugin manager, see [[ | The Softpult (Softdesk) tool can be enabled via the plugin manager, see [[Lektion 6]]. Afterwards you can find a new menu entry "Softdesk" within the plugins menu. When you open this plugin an administration GUI appears at first: | ||
[[Datei:DMXC3L16 SoftDesk plugin.JPG]] | [[Datei:DMXC3L16 SoftDesk plugin.JPG]] | ||
Version vom 19. Juli 2011, 20:27 Uhr
Hinweis:
Dieser Artikel soll eine Kurzanleitung zu DMXControl sein. Inhalt: Ausführung einer Show und Erweiterungen
Wichtiger Hinweis: Dieser Artikel ist zm Teil eine 1:1 Kopie oder wurde mit Hilfe von FreeTranslation.com übersetzt und sehr viele Inhalte müssen noch angepasst werden, also ... jeder kann ja mal einen Satz übersetzen/korrigieren und entfernt anschließend diesen Hinweis
| [[Bild:{{{Logo}}}|48px|link=]] | {{{Überschrift}}} |
Lecture 16: Softpult
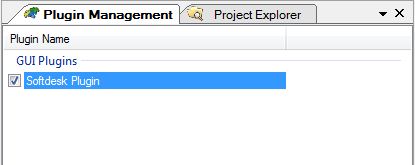
The Softpult (Softdesk) tool can be enabled via the plugin manager, see Lektion 6. Afterwards you can find a new menu entry "Softdesk" within the plugins menu. When you open this plugin an administration GUI appears at first:
Here you can create, delete, edit, copy, import and export your instancies of softdesks. At runtime you can activate several instancies of softpults in parallel (but you don't have several banks within a softpult available).
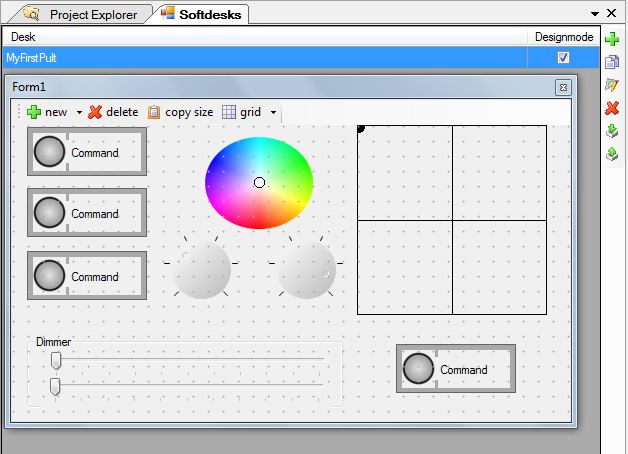
When you select the design mode (edit mode) you can add your favorite elements from the set of sliders, buttons, rotary faders or XYpads. There are also graphical design elements such as labels, separators and group boxes available. Try it, also the design grid mode!
Here you can see one possible result:
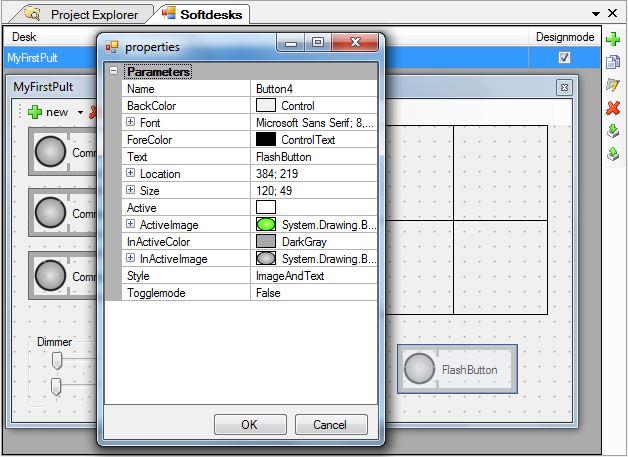
You can customize the elements in design mode by using the property context menu. The following figure shows the property box for a button (right mouse click in design mode). For example you can modify the button name, colors and the toggle mode property.
The softpult windows are integrated into the panel system, see Einsteiger:Lesson2/en. That means you can have attached panels or flying windows.
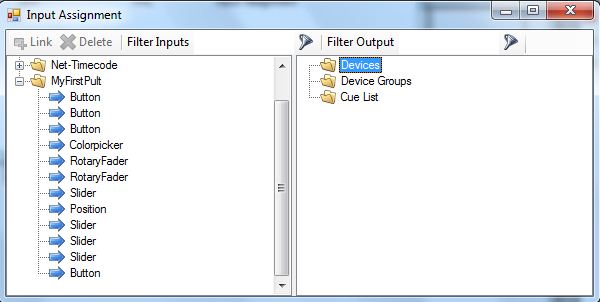
In the next step you have to connect your softdesk with your project, i.e. you have to assign functions to your softpult resp. control elements.
This has to be performed with the input assignment panel. On left hand side you find the controls, on right hand side the DMXControl explorer is shown. Simply drag and drop the control elements to certain properties, attributes or elements to make a connection.
topics to be added (by beta testers)
- complement this text
Lektion 16:
Zusätzliche Themen (von beta testern)
Übung
- Erstellen...
Zusätzliche Links
Zertifikat
Ich habe die Themen in dieser Lektion verstanden und möchte mit der nächsten Lektion weitermachen: Lektion 17


